
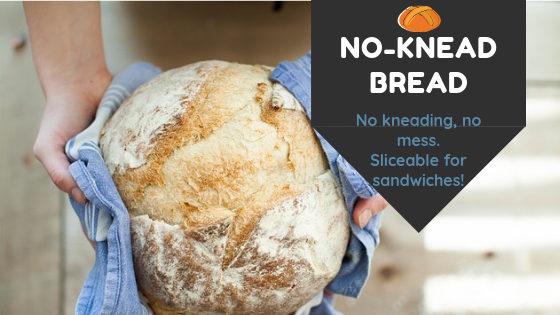
Mess Free No-Knead Bread

I've been making this bread for well over a decade and have it perfected so that I don't use my hands OR a towel, eliminating clean up time considerably. It's based on Jim Lahey's 2006 NYT recipe, but I've taken out some steps and equipment to make it even EASIER.
Most sourdough breads (you can also just use yeast but I use sourdough starter) use a lot of starter as the leavening agent. This bread uses a little starter or yeast and a lot of TIME to leaven the bread. The actual work is mere minutes, but the sitting/fermenting/rising time is many hours. So it's easy, but you need to time it and plan ahead.Try the almond flour version for a nice crumb and easier "slice-ability." This is great for sandwiches.
Ingredients
- 6 cups wheat flour (any combination of white or whole wheat)
- 1/2 cup sourdough starter (or 1/2 teaspoon dry yeast)
- 1 scant tablespoon salt
- 3-4 cups cool water
Almond Flour version
- 5 cups wheat flour (any combination of white or whole wheat)
- 1 cup almond flour
- 1/2 cup sourdough starter (or 1/2 teaspoon dry yeast)
- 1 scant tablespoon salt
- 2-3 cups cool water
Instructions
- At LEAST 12 hours (aim for more) before baking, combine flours, salt and starter or yeast.
- Add enough water to make a sticky, dense dough.
- Use a big paddle or sturdy spoon to stir until combined.
- Let sit with a cover over it. I use a towel or silicone cover. I even leave the spoon in the bowl.
- After 12 or more hours, stir the dough with the same spoon.
- In two hours, turn the oven on to 400-450 degrees. Put the baking dish in the oven to heat preheat.
- When heated (I just wait for the oven to get to temperature), remove the dish and sprinkle flour on the dish. Be careful. Everything is hot!
- Pour the dough into the dish and place lid over the dough.
- Put into oven and bake for 45 minutes. Or 30 minutes for one or two regular sized loaves.
- After 45 minutes, remove lid but leave in oven until cool or you need the bread. It'll slice more easily if cooled.
Notes
The amount of water really varies, depending on your location's humidity level, the type of flour and how recently the flour was ground.
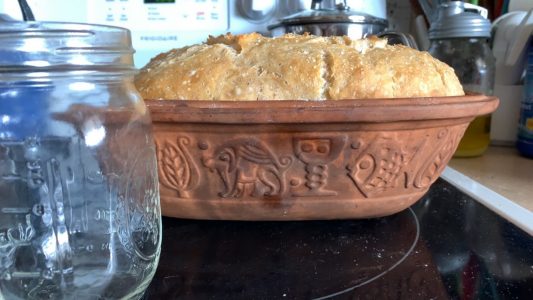
Use a lid whenever possible!!! It traps the moisture in making a better loaf. It'll still be yummy if you don't, though.
Variations (I'm sorry, I never measure!!!):
Add raisins, cinnamon and a little sugar at second rise.
Add olives, rosemary and parmesan at second rise.
Add sugar and chocolate chips at second rise.
And be sure to check out my Cinnamon Roll loaf, which starts with this basic loaf and makes it extra special.
Didn't soak your flour in time?! Use this microwave method for proofing and/or cooking your bread in a hurry.

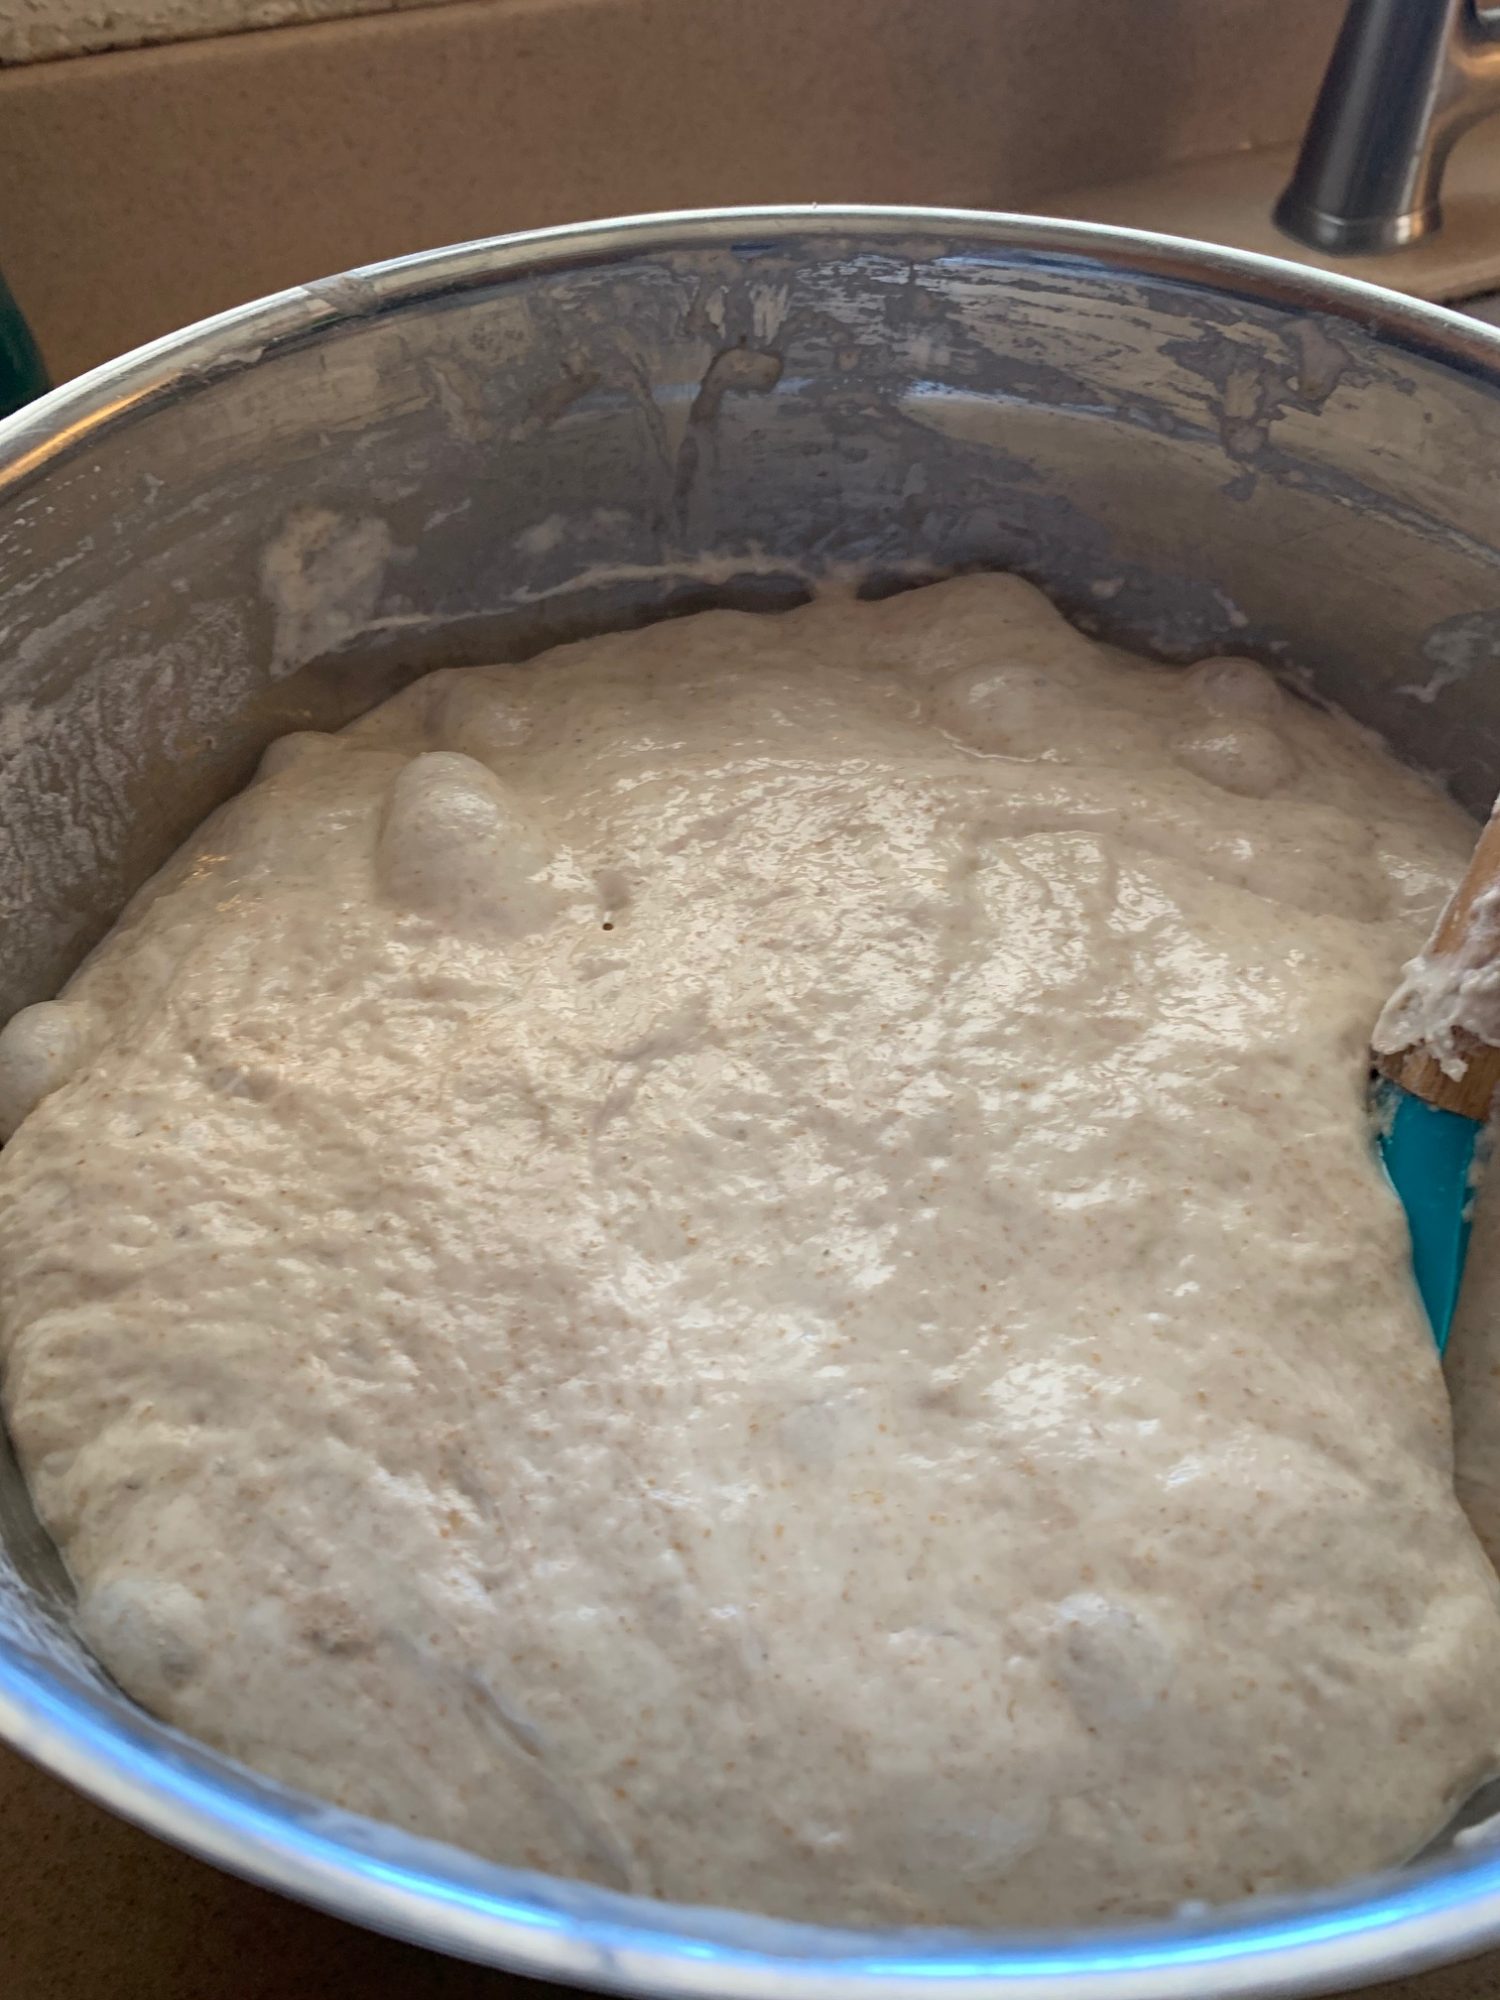
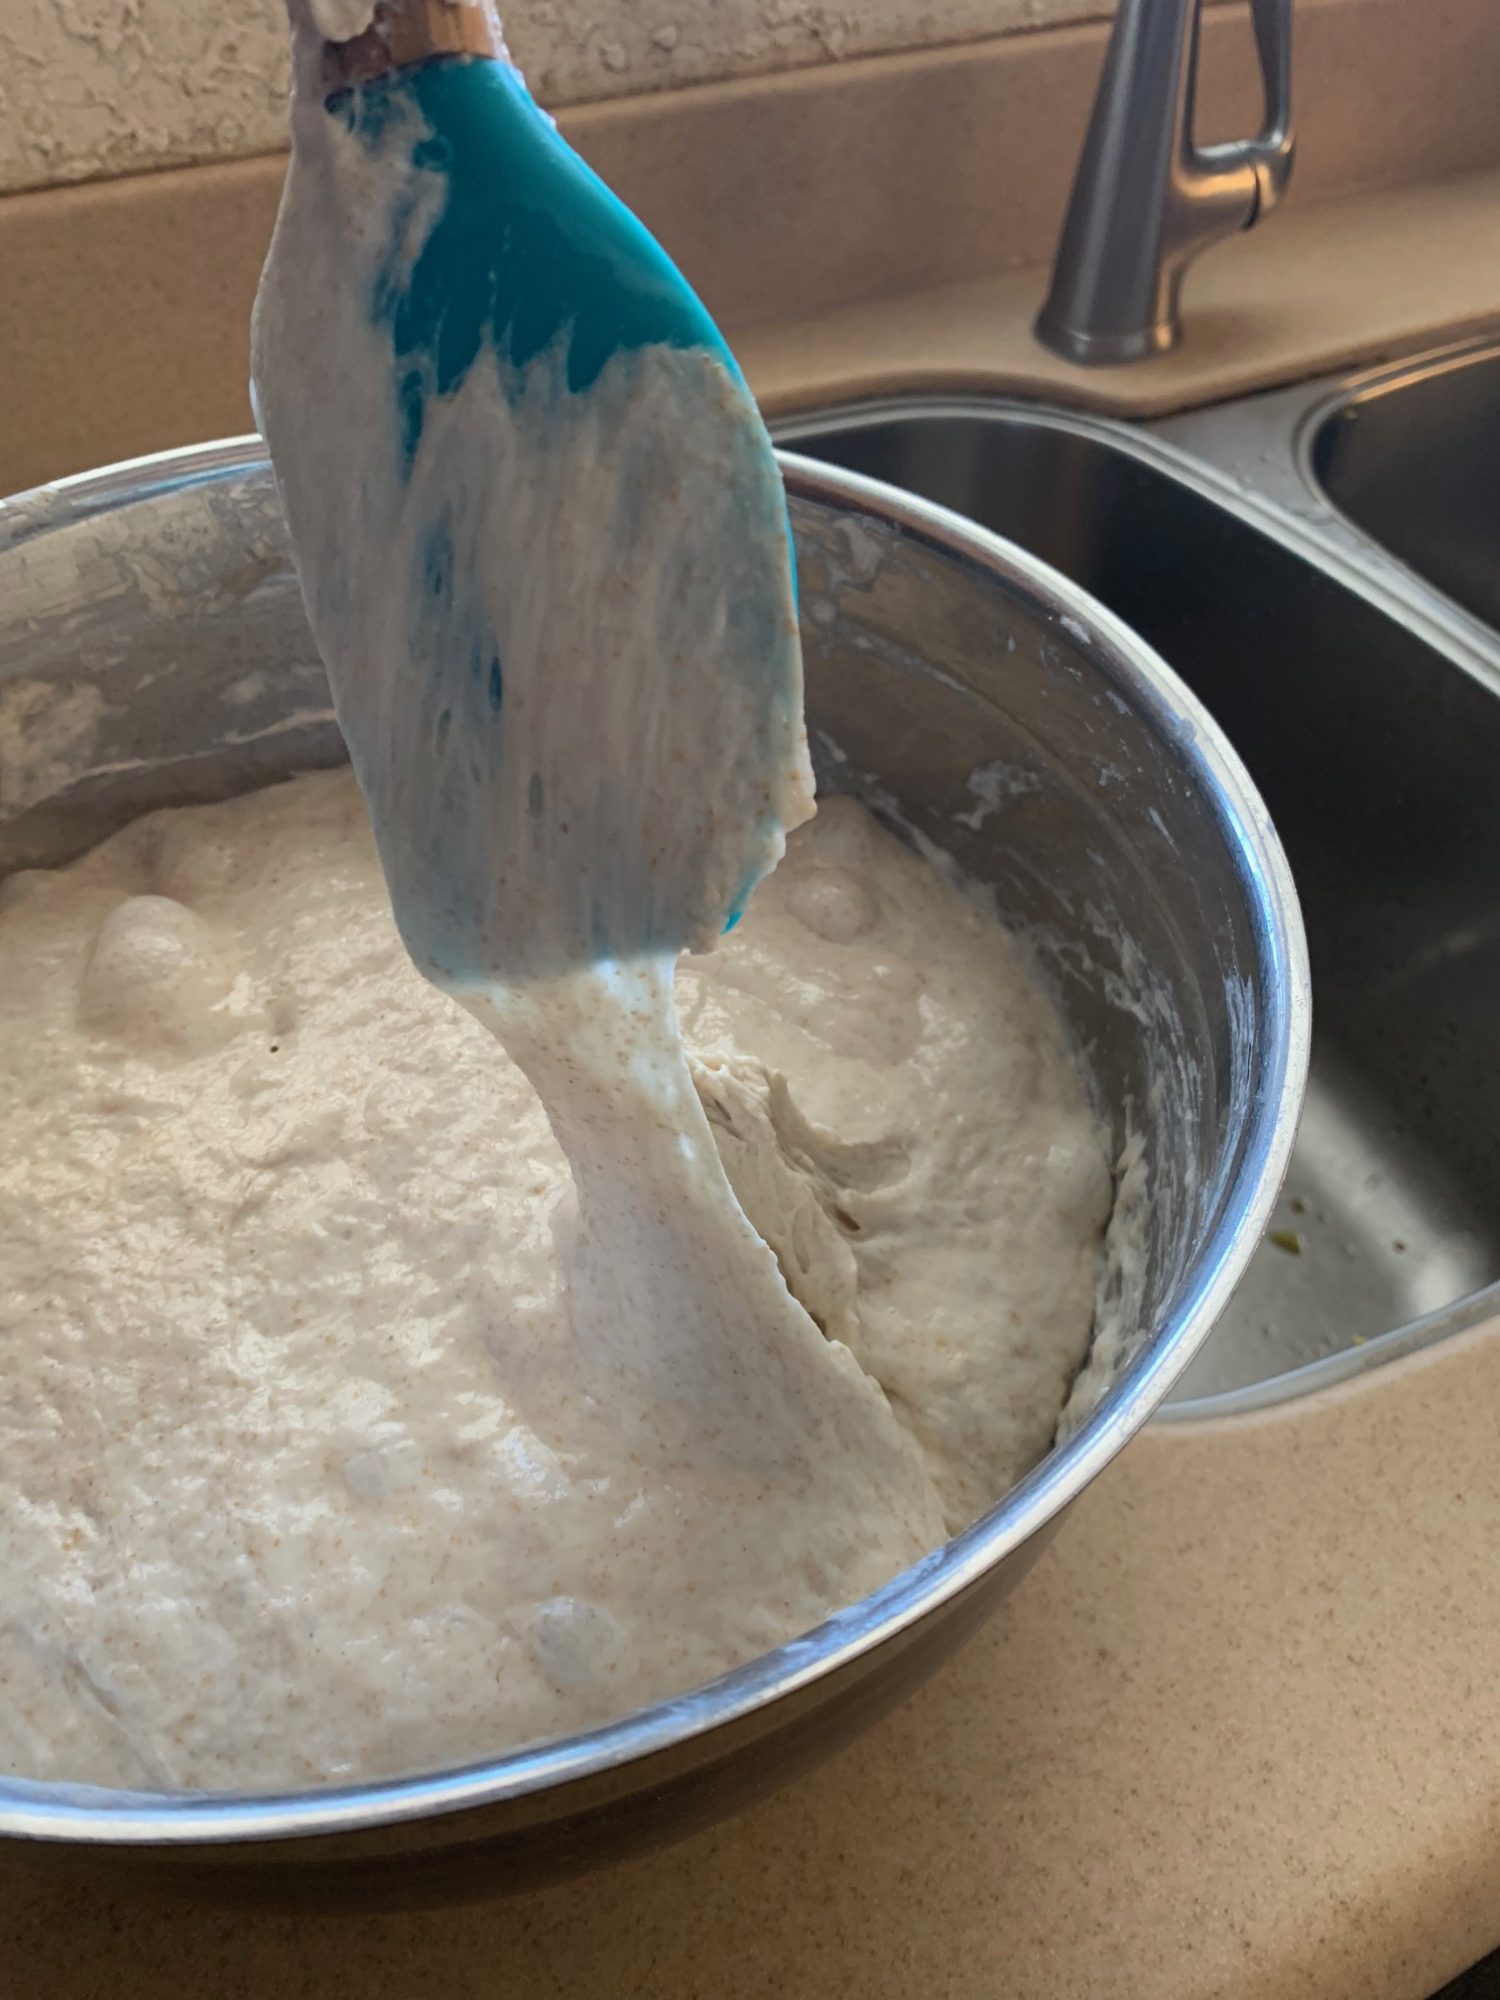
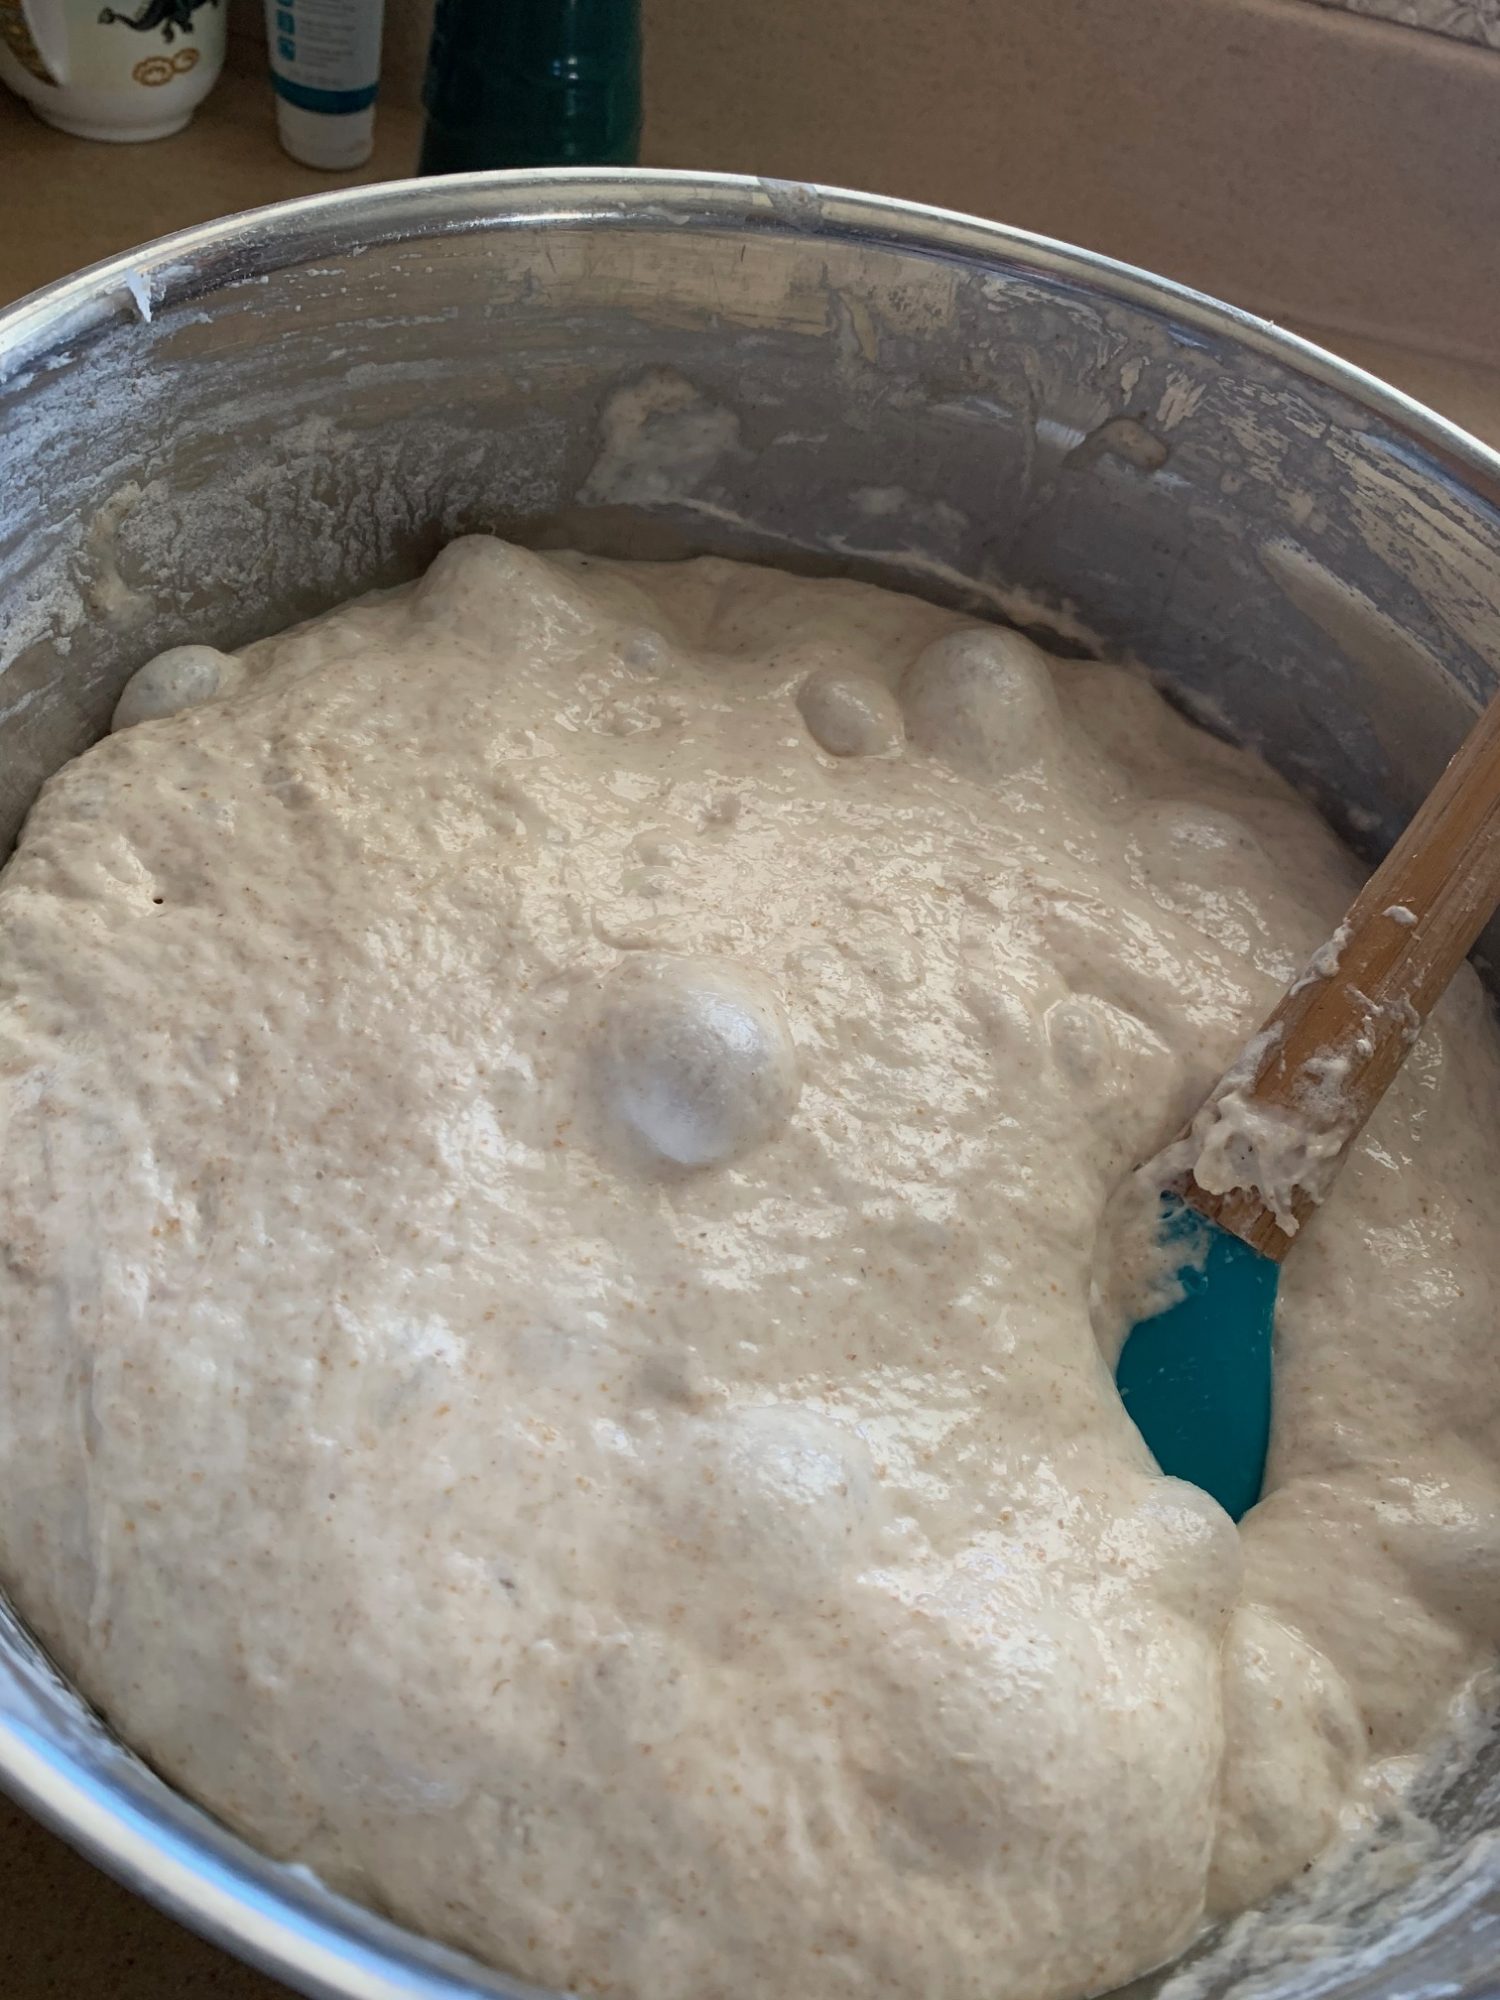
You’ll get some bubbles at the first rise. Notice how the dough is sticky. I leave the spoon in for both rises and use it to help pour the dough into the baker. Perfect crust and rise!

You said “baking dish…” what kind/size of “baking dish?” And where do I get said “baking dish?”
In the meantime, can I use a regular beard loaf pan?
You also said that this one uses less starter and more time to leaven the bread. Can the reverse be true too? So that it’s more started and less time?
I’m excited to be trying my hand at sourdough “things.” lol
Thank you!
Great questions, Megan! For the 6 cup loaf, you would need a large baker of some kind. I have used a Le Creuset pot with a lid, the Pampered Chef Deep Covered baker and Corning Ware would also work (as long as it is rated for the temps). Until then, yes a loaf pan will work, though you will want to do a half recipe (three cup loaf). Covering is ideal but I do uncovered loaves all the time and no one complains!
Yes, more starter will likely need less time but I can’t advise there because I usually like mine to sit for quite awhile. Though I have used the microwave to speed things up in bread emergencies! Take a look here: https://www.thekitchn.com/easier-no-knead-bread-in-a-hurry-40653
This uses yeast so I’m not sure how it works with sourdough.
Good luck!!
If this is baked in the Epicure steamer, do you still preheat the steamer? The bake temperature I’m assuming would be 425 degree?
No, you would NOT have to preheat any silicone bake ware you use. And yes, you would want to stay at or below the max temperature for your silicone. So for the Epicure steamer, that’s 425. The bread would cook just fine at 400, though of course check and make sure it’s done to your liking. Thanks for reading, Sharon!